Container Garden Drainage: Why It Matters and How to Get It Right
Ask ten struggling container gardeners what went wrong and most will describe a watering problem — leaves yellowing, roots rotting, a plant that seemed thirsty right up until it wasn’t. Ask a few more questions and the real answer usually isn’t watering technique at all. It’s drainage: a pot with no way out for excess water, or a setup that quietly traps it anyway. Container plants live entirely within the volume of soil you give them, with no surrounding earth to wick away a mistake — which makes drainage the single highest-leverage decision in container gardening, made once at planting time and then either paying off or costing you all season.
This guide covers what drainage does, the myths that undermine it (the rock-layer trick chief among them), how to build it correctly into any container, and how to diagnose a pot that’s already fighting you.
Why drainage is non-negotiable
Roots don’t just drink water — they breathe, drawing oxygen from air pockets between soil particles. In garden beds, excess water percolates down and away through the surrounding earth, refreshing those air pockets within hours. In a container, there’s nowhere for that water to go except out the bottom. Block that exit, or fail to provide one, and water pools at the base of the pot, drowning out the air pockets and suffocating the roots sitting in it. Suffocated roots begin to rot within days, and rotting roots can’t take up water or nutrients — which means the plant above ground starts to wilt and yellow, displaying the exact symptoms of thirst while sitting in a swamp. It’s the same cruel irony covered in our houseplant watering guide, and it’s the reason overwatering (which is really an under-drainage problem in disguise) kills more container plants than pests, disease, and underwatering combined.
A properly draining container does the opposite: water passes through, carrying away excess salts from fertilizer and tap water as it goes (a genuine bonus — undrained pots accumulate mineral buildup that undrained soil can’t flush), and the soil settles into that ideal state gardeners call “moist, not wet” within an hour or two of watering.
The drainage-hole basics
Every container growing a plant long-term needs at least one hole for water to exit. This isn’t a preference — it’s closer to a law of physics. The details:
- Size and number: one hole roughly half an inch to an inch across suits most pots under about 14 inches in diameter. Larger pots, and especially long, narrow window boxes, do better with multiple holes spaced along the base, since a single hole in a wide container can leave water pooling at low spots far from the exit.
- Elevate the pot slightly off its saucer, deck, or patio surface — pot feet, a couple of small stones, or a purpose-made riser all work. This keeps the drainage hole from sitting flush against a solid surface (which can seal it shut) and improves airflow to the bottom of the root zone.
- Empty saucers promptly. A drainage hole only works if what drains out leaves — a pot standing in a full saucer for hours is functionally back to having no drainage at all, just with extra steps. Ten to fifteen minutes after watering is enough time for drainage to finish; empty the saucer after that.
Retrofitting containers that don’t have holes
Plenty of beautiful pots — glazed ceramic, many decorative resin planters, anything bought primarily for looks — arrive with no drainage hole at all. Two honest paths forward:
Drill one, if the material allows it. Terracotta, unglazed ceramic, and plastic or resin pots can usually be drilled successfully:
- Terracotta/ceramic: use a masonry or diamond-tipped bit, go slow, keep the drilling area damp (reduces cracking from heat), and support the pot on a towel rather than a hard surface.
- Plastic/resin: a standard drill bit handles this easily; start with a small pilot hole and widen it.
- Glass, thin glazed ceramic, or concrete: riskier to drill without specialized tools and prone to cracking; these are better used as an outer decorative sleeve (see below) than drilled.
Use it as a cachepot instead. Keep the plant in its plastic nursery pot (which already has drainage) and simply set that pot inside the decorative one, lifting it out to water over a sink so excess drains away before returning it to its decorative sleeve. This is the standard professional approach for fine ceramics and is often easier than drilling — you get the look you bought the pot for without gambling on cracking it.
Alt: Plastic nursery pot with drainage lifted out of a decorative cachepot for watering
Caption: The cachepot method: all the style, none of the drilling risk.
The rock-layer myth (and why it makes things worse)
For generations, gardening advice has recommended a layer of gravel, pot shards, or rocks at the bottom of a container “for drainage.” It’s one of the most widely repeated pieces of gardening folklore, and it’s backwards.
Water doesn’t move freely between two different soil textures until the finer material above is fully saturated — a phenomenon soil scientists call a perched water table. In practice, this means the potting mix sitting directly above a gravel layer stays wetter for longer, not drier, because water pools at the boundary between the two materials rather than continuing to drain until the fine mix above is completely soaked. The rock layer also eats into usable root depth, shrinking the effective size of the container for no benefit.
The fix is to skip it entirely. Use quality, well-draining potting mix (not garden soil, which compacts in containers and has no place in this guide’s advice) all the way from the surface to the drainage hole. If you’re worried about mix washing out through a large hole, a small piece of window screen, a coffee filter, or a single broken pottery shard laid loosely over the hole — not a layer, just a single piece — keeps mix in without blocking drainage.
Potting mix: drainage’s other half
Drainage holes only work if what’s above them lets water through. Two mix mistakes undo good drainage engineering:
- Garden soil in a container compacts into a dense, airless brick that drains poorly regardless of how many holes are underneath it — it belongs in the ground, not in pots. Always use bagged potting mix, which is formulated with materials like perlite, bark, and coconut coir specifically to hold structure and air space in a contained setting.
- Old, broken-down potting mix loses its structure over a season or two of watering and starts compacting and draining poorly even though it drained fine when fresh. Refresh at least the top third of a container’s mix annually, or fully replace it every two to three years for long-term plantings.
For particularly moisture-sensitive plants — succulents, Mediterranean herbs like rosemary and thyme, and anything prone to root rot — mixing in extra perlite or coarse sand (roughly a quarter to a third of the total volume) improves drainage further, matching the lean, fast-draining conditions those plants evolved for.
Diagnosing a pot that’s already fighting you
If a container plant is struggling and you suspect drainage, a few checks in order:
- Look underneath. Is the drainage hole visible and clear, or blocked by roots grown through it, compacted mix, or debris? Clear any blockage with a stick or thin tool.
- Check what’s beneath the pot. Is it sitting flush on a solid surface (patio, deck, tray) with no gap for water to exit, or standing in a saucer that’s never emptied? Elevate it or empty the saucer.
- Water it and watch. Does water run through within a minute or two and appear at the bottom, or does it sit on the surface without soaking in? The latter suggests either a blocked hole or hydrophobic, over-dried mix — bottom-watering for 20–30 minutes rehydrates dried-out mix that’s stopped absorbing normally.
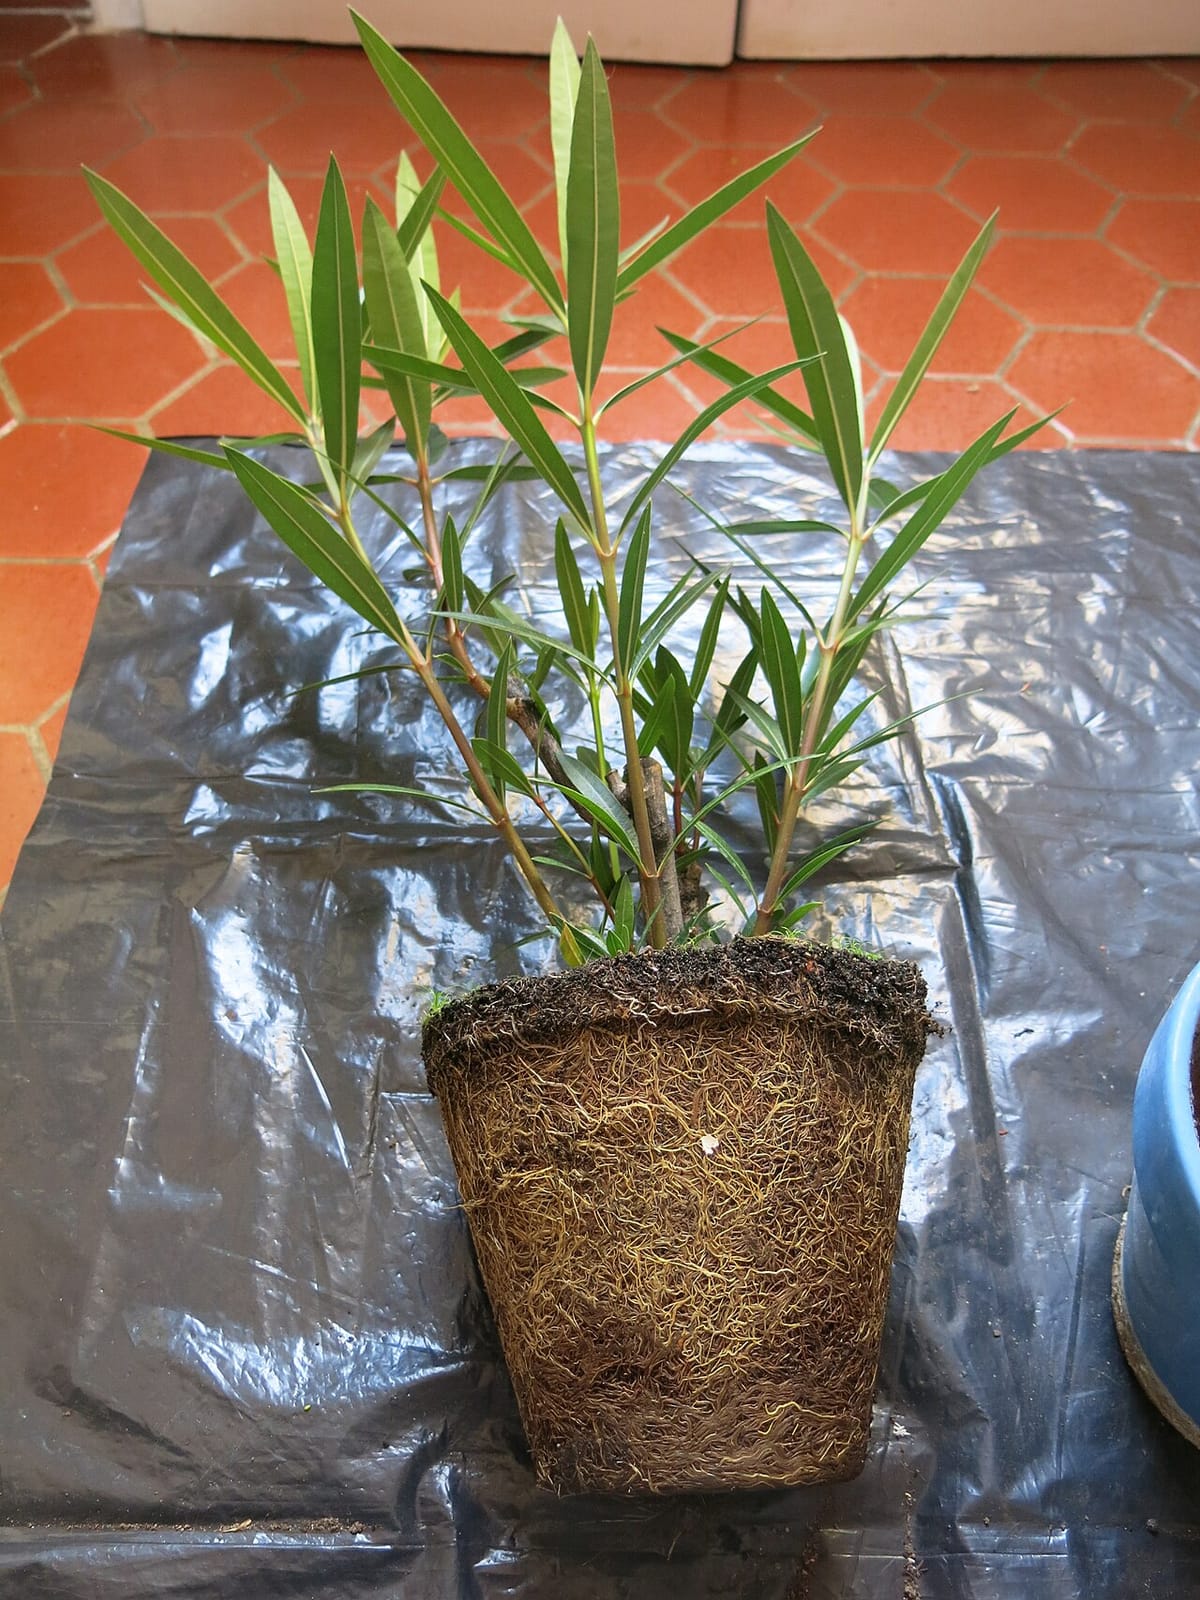
- Unpot and inspect the roots, if the above checks don’t explain the problem. White or light tan roots are healthy; brown, black, or mushy roots with a sour smell confirm rot from chronic poor drainage, and the fix is trimming the affected roots and repotting into fresh mix in a container you’ve now confirmed drains properly.
Raised beds and large planters: the same rules, bigger scale
Large containers and raised garden beds follow identical drainage physics, just with more forgiving margins since they hold more total soil volume. A few scale-specific notes:
- If a raised bed sits directly on a hard surface (patio, deck, concrete) rather than open ground, it needs its own drainage — holes or gaps in the base, never a solid sealed bottom — exactly like a large pot. Raised beds built over native soil generally drain fine through the ground beneath them, but beds built on hardscape need the same engineering as any container.
- Landscape fabric can line the base of a raised bed to keep soil from washing out through drainage gaps, but it should never be a solid, non-porous liner — the point is to hold soil in while still letting water pass freely through.
- Very large planters (whiskey barrels, big glazed urns) benefit from the same lightweight fill approach used to reduce weight and improve drainage in tall pots: a layer of large plastic nursery pots turned upside down in the bottom third (not gravel — this trick works because it displaces volume without creating the fine-to-coarse boundary problem, since the layer beneath is empty air, not compacted material) reduces both weight and soil needed, without the perched-water-table issue that ruins the rock-layer method.
The takeaway
Drainage is the one container-gardening decision that’s entirely set-and-forget: get it right at planting — real holes, no rock layer, proper potting mix, an emptied saucer — and it quietly prevents most of the problems that would otherwise show up later as yellowing leaves, root rot, and mysteriously struggling plants. It’s unglamorous work compared to choosing what to grow, but it’s the foundation every other piece of container advice, from what to plant to how often to water, is quietly standing on.
Frequently asked questions
Do all containers need drainage holes?
Yes, without exception, for any pot growing a living plant long-term. A container with no way for excess water to escape will eventually waterlog the soil at the bottom regardless of how carefully you water, suffocating roots and inviting rot. Decorative pots without holes should hold a plastic nursery pot with drainage inside them, not soil directly.
How many drainage holes does a pot need?
One good-sized hole (roughly half an inch to an inch across, scaled to pot size) is enough for most containers under about 14 inches. Larger pots and long window boxes benefit from multiple holes spaced along the base so water doesn't have to travel far to escape, since a single hole in a wide, flat-bottomed container can leave low spots that stay saturated.
Should I put rocks or gravel in the bottom of a pot for drainage?
No — this is one of gardening's most persistent myths. A rock layer doesn't improve drainage; it raises the water table within the pot, since water doesn't move freely across the boundary between fine potting mix and coarse gravel until the mix above is fully saturated. It also wastes usable root depth. Skip the rocks and use quality potting mix all the way to the drainage hole.
Can I drill drainage holes into a pot that doesn't have any?
Usually yes. Terracotta and ceramic pots can be drilled with a masonry bit at low speed (keeping the area damp reduces cracking); plastic and resin pots drill easily with a standard bit. Glass, some glazed ceramics, and concrete are riskier to drill without proper tools and may crack — for those, it's safer to use them as a decorative outer sleeve around a properly draining plastic nursery pot instead.
Why is water pooling on top of my potting soil instead of draining?
Usually one of two causes: the mix has dried out so completely that it's become water-repellent and water is racing down the gap between the dried root ball and the pot wall rather than soaking in, or the drainage hole itself is blocked by compacted roots or debris. Bottom-watering (setting the pot in a shallow tray of water) fixes the first; clearing the hole with a stick or checking beneath the pot fixes the second.
Do I need a saucer under every container?
For anything indoors or on a deck, floor, or surface you care about, yes — but the saucer's water needs emptying within ten to fifteen minutes of drainage finishing, or the pot ends up standing in its own runoff, which defeats the entire purpose of drainage. Elevating the pot slightly on pot feet, above the saucer's water line, is a simple permanent fix for forgetful waterers.
How does drainage differ for raised beds and large planters versus small pots?
The physics are the same, but large containers and raised beds are more forgiving of a slightly imperfect setup because they hold more total soil volume and buffer moisture better. They still need real drainage — landscape fabric over drainage holes or gaps (not solid liners), and ideally contact with native soil or a gravel drainage layer beneath the structure, not sealed to a patio or deck surface.